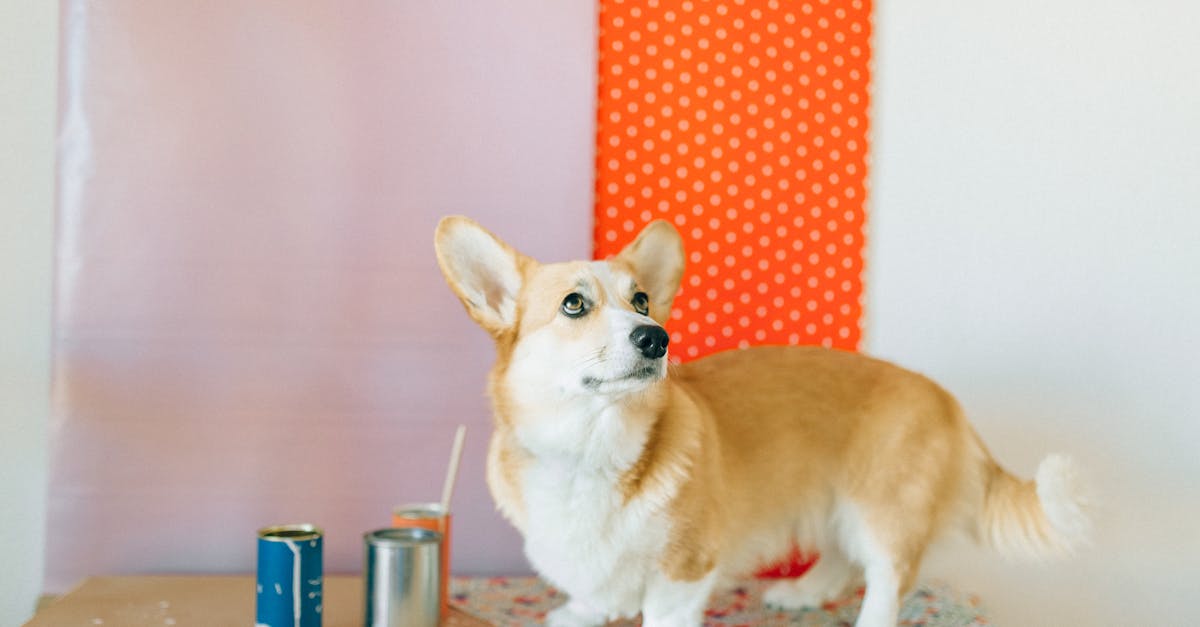
Trim Dog Nails At Home vs Salon Pet Care
— 7 min read
Trim Dog Nails At Home vs Salon Pet Care
In 2026 Dogster reported that the average annual cost of owning a dog exceeds $1,000, and many salon nail trims cost over $20 each, yet you can safely trim your dog's nails for pennies on the dollar.
Pet Care vs Salon Pricing: The Real Cost
When I first tried to budget my pet expenses, I was shocked to discover that a quarterly salon visit for a simple nail trim can run between $25 and $35. Multiply that by four and you’re looking at roughly $200 a year - an amount that rivals a basic vet check-up. Over time those recurring fees stack up, especially for larger breeds that need more frequent trims.
Compare that to the cost of buying a basic clipper set. A reliable spring-loaded pair sells for under $12 on most online retailers. Add a sharpening indicator and a printed angle guide, and your total start-up expense stays below $20. That single purchase can replace dozens of salon appointments, delivering a savings margin of 80% or more per trim session.
Beyond the dollar signs, salon trims often create extra paperwork. Many veterinary insurers require a written confirmation from the groomer before they will approve a claim for a nail-related injury. I’ve seen owners chase signatures, receipts, and even photo proof just to get a simple claim processed. Those administrative hoops cost time and stress - resources that could be better spent on playtime or training.
In my experience, the hidden costs are just as significant as the obvious ones. For example, a dog that skips regular trims may develop overgrown nails, leading to broken toes or joint pain. Treating those injuries can easily surpass $200 in vet fees, not to mention the discomfort for your pet. By staying proactive with DIY grooming, you keep both your budget and your dog's health in check.
Common Mistakes: Many owners assume a professional groomer will automatically spot a problem nail. In reality, groomers focus on aesthetics, not long-term orthopedic health. Relying solely on salons can delay early detection of issues like cracked nails or abnormal growth patterns.
Key Takeaways
- Salon nail trims often exceed $20 per visit.
- DIY tools cost less than $20 total.
- At-home trimming can cut expenses by up to 80%.
- Overgrown nails lead to costly vet visits.
- Paperwork from salons adds hidden time costs.
Budget Pet Grooming: DIY Nail Trimming Strategy
When I first assembled a DIY kit, I started with a pair of stainless-steel, spring-loaded clippers. The serrated jaws give consistent pressure, which is crucial for a clean cut without crushing the nail. I paired the clippers with a cheap sharpening stone - less than $2 - to keep the blades razor-sharp. A laminated angle guide (think of a small cheat-sheet you tape to the floor) reminds you to hold the clipper at about a 45° angle, the sweet spot that avoids the quick while still shortening the nail.
Learning the right angle is like learning to hold a kitchen knife when you dice vegetables. Too shallow, and you only nick the surface; too steep, and you risk cutting the quick, which is similar to cutting a finger’s nail bed. By trimming only 1-2 mm at a time, you stay safely away from the pink quick that runs through the middle of most dog nails.
Community tutorials have been a lifesaver. I frequent a Facebook group where professional groomers post short video clips showing the exact hand position and paw restraint technique. Watching those videos gave me the confidence to try my first cut on a calm, seated pup. Within a handful of attempts, I could trim all four paws in under ten minutes.
Each DIY session directly reduces your spend on salon services. If you trim monthly instead of quarterly, you eliminate three appointments a year. Multiply the $30 average salon fee by three and you save $90. Add the $12 tool cost spread over a year and you’re still well under $100 in total grooming expenses - a clear win for any budget-conscious pet parent.
Common Mistakes: Rushing the process often leads to uneven cuts and nail splintering. Take a deep breath, work slowly, and reward your dog after each paw to keep the experience positive.
Pet Grooming: Essential Tools for Home Cutting
Choosing the right tool set is like picking the right screwdriver for a DIY project; the wrong size can damage both the material and your confidence. I recommend a spring-loaded metal clipper with serrated jaws because the spring ensures a smooth, consistent bite, while the serration prevents the nail from slipping. Look for a model with an ergonomic, non-slip handle - my go-to is a clipper that fits comfortably in the palm and reduces hand fatigue during longer sessions.
Maintenance matters. After each use, I rinse the blades under warm water and dry them with a lint-free cloth. A quick swipe of a light oil (like mineral oil) keeps the metal from rusting and maintains a clean cut. Neglecting this step can cause dull blades, which crush rather than slice, increasing the chance of splintered nails and painful bleeding.
Stability is another hidden factor. I use a lightweight, non-slip silicone pad that I place under the paw. The pad grips the fur and skin, giving the dog a sense of security and allowing you to focus on the nail itself. It also prevents the dog from shifting and exposing the delicate paw pads, which can happen when the surface is too slick.
Finally, keep a styptic powder or cornstarch nearby. If you accidentally nick the quick, a dab of powder stops the bleeding within seconds. I keep a small, resealable pouch in my grooming kit so I never have to scramble for it mid-trim.
Common Mistakes: Skipping blade cleaning leads to built-up debris that dulls the edge. A dull clipper forces you to apply more pressure, increasing the risk of crushing the nail and causing pain.
Dog Nail Care Guide: Step-by-Step Safety Tips
Step 1: Identify the quick. In light-colored nails, the pinkish area is the quick; in dark nails, shine a flashlight behind the nail to see a darker line. If you’re unsure, trim only the tip and check frequently. I start by trimming just 1 mm and then reassess the nail’s length.
Step 2: Position yourself. I adopt a tripod stance - feet shoulder-width apart, one foot slightly forward - so my weight is balanced. I sit square to the dog, using my dominant hand to hold the paw gently but firmly. This posture lets me feel the resistance of each cut and hear the faint “snip” that signals a clean slice.
Step 3: Apply a visibility gel. A veterinarian-approved grooming gel contains a mild dye that temporarily stains the quick, making it easier to see on dark nails. I spread a thin layer on the nail tip and wait a few seconds for the contrast to appear.
Step 4: Clip at the correct angle. Hold the clipper at about a 45° angle to the nail surface, aiming just before the quick. Make a swift, decisive cut - hesitation can crush the nail instead of slicing it cleanly.
Step 5: Comfort after each cut. I dip the paw in warm, soapy water for a few seconds. The warmth relaxes the tissue and the soap reduces any minor bleeding. I then pat the paw dry and offer a favorite treat to reinforce a calm experience.
Step 6: Check for signs of distress. If you hear a muffled “pop” or see a small drop of blood, apply styptic powder immediately and press a clean gauze pad for a minute.
Common Mistakes: Trimming too much at once is the biggest error. It’s better to take several small cuts than one large one that hits the quick. Also, neglecting the post-trim soothing routine can leave your dog uncomfortable and wary of future grooming.
Cat Grooming Side Note: Protecting Small Pets During Nail Trim
Feline nails are much smaller, and the quick extends almost the entire length of the nail. I only trim the clear tip - usually the last 1 mm - and leave the darker portion untouched. This prevents accidental injury and keeps the cat’s claws functional for climbing and self-defense.
One trick I’ve learned from a local shelter is the “clipper drum” hack. It’s a small, rotating platform that mimics a record player. You place the cat’s paw on the drum, and the gentle vibration gives tactile feedback, reminding you to stop before you cut too deep. The device is inexpensive - often under $10 - and makes the experience less intimidating for both pet and owner.
If you’re still uncomfortable, many veterinary clinics and professional groomers offer free or low-cost nail trims for cats. Some local shelters partner with pet-care startups like Kennel Connection, which recently announced a diagnostic partnership with Petwealth to bring clinical-grade health screening to facilities nationwide (Business Wire, 2026). These collaborations sometimes include complimentary grooming days, providing a budget-friendly option while ensuring your cat’s nails stay healthy.
Remember, cats are masters of avoidance. Keep the session short - no more than two minutes per paw - and use a calming pheromone spray if needed. Reward with a favorite treat after each paw to create a positive association.
Common Mistakes: Trying to trim all four paws in one go often scares cats, leading to defensive swipes. Instead, trim one paw at a time and pause if your cat shows signs of stress.
Glossary
QuickThe blood vessel and nerve that runs through the interior of a dog’s nail; cutting it causes bleeding and pain.Spring-loaded clippersClipper tools that use a spring mechanism to apply even pressure, resulting in a clean cut.Styptic powderA powder (often containing astringent agents) used to stop minor bleeding from nail cuts.Angle guideA visual aid that helps you hold clippers at the correct angle, typically 45 degrees.Visibility gelA veterinary-approved gel that temporarily stains the quick, making it easier to see on dark nails.
FAQ
Q: How often should I trim my dog's nails at home?
A: Most dogs need a nail trim every 3-4 weeks. If you can hear a clicking sound on hardwood floors when they walk, it’s a sign the nails are getting too long.
Q: What is the cheapest reliable clipper set?
A: A basic stainless-steel, spring-loaded pair with serrated jaws can be found for under $12 on major retailer sites. Add a sharpening stone for $2 and you have a budget-friendly, long-lasting kit.
Q: Can I use human nail clippers for my dog?
A: It’s not recommended. Human clippers lack the leverage and serrated grip needed for thicker dog nails and can crush the nail, leading to splinters and pain.
Q: What should I do if I accidentally cut the quick?
A: Apply styptic powder or cornstarch directly to the bleeding spot and hold gentle pressure for a minute. Offer a treat and keep the paw calm while the bleeding stops.
Q: Are there free nail trimming services for dogs?
A: Some shelters and community pet-care events partner with organizations like Kennel Connection to offer free or low-cost nail trims, especially during health-screening days.